
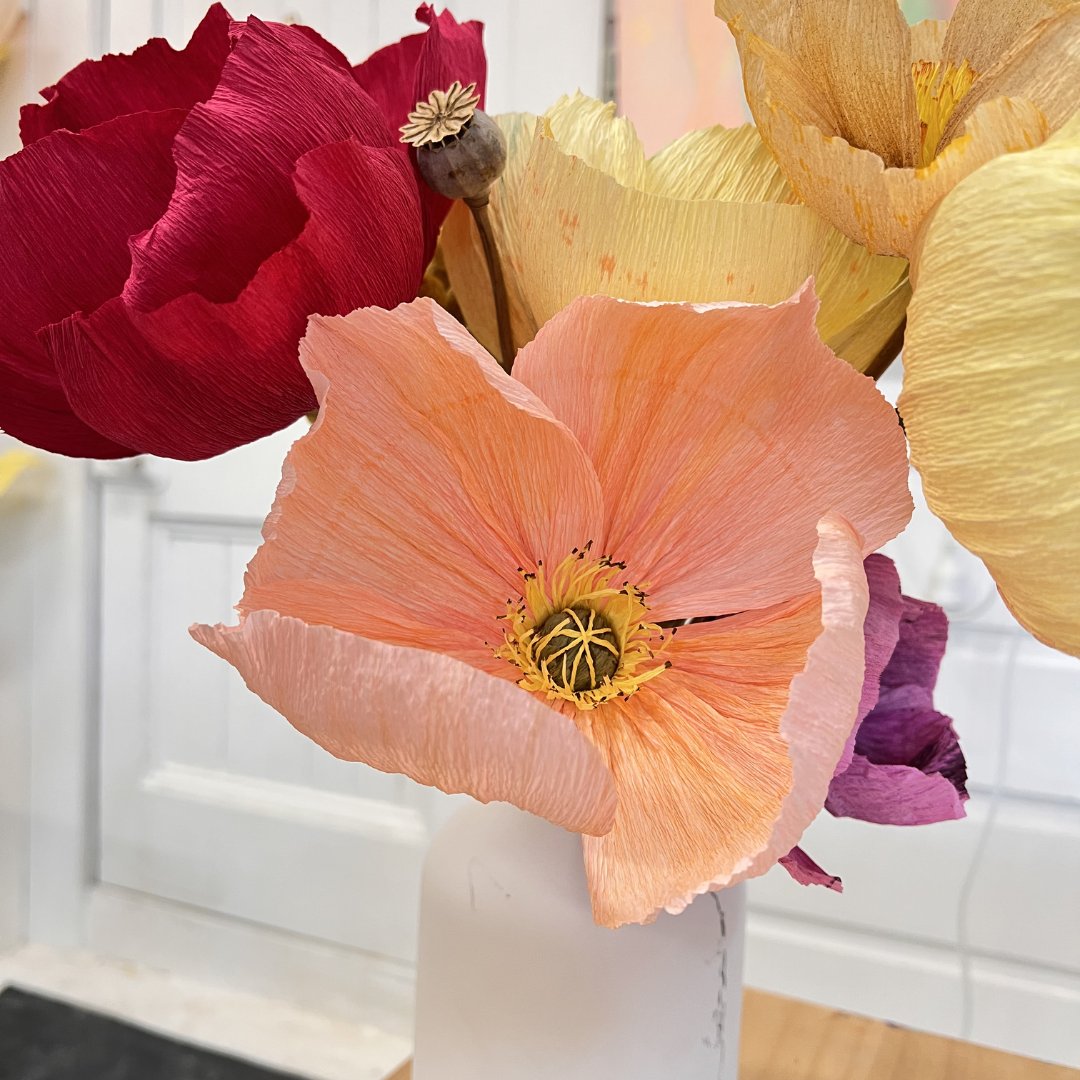
 Image 1 of 7
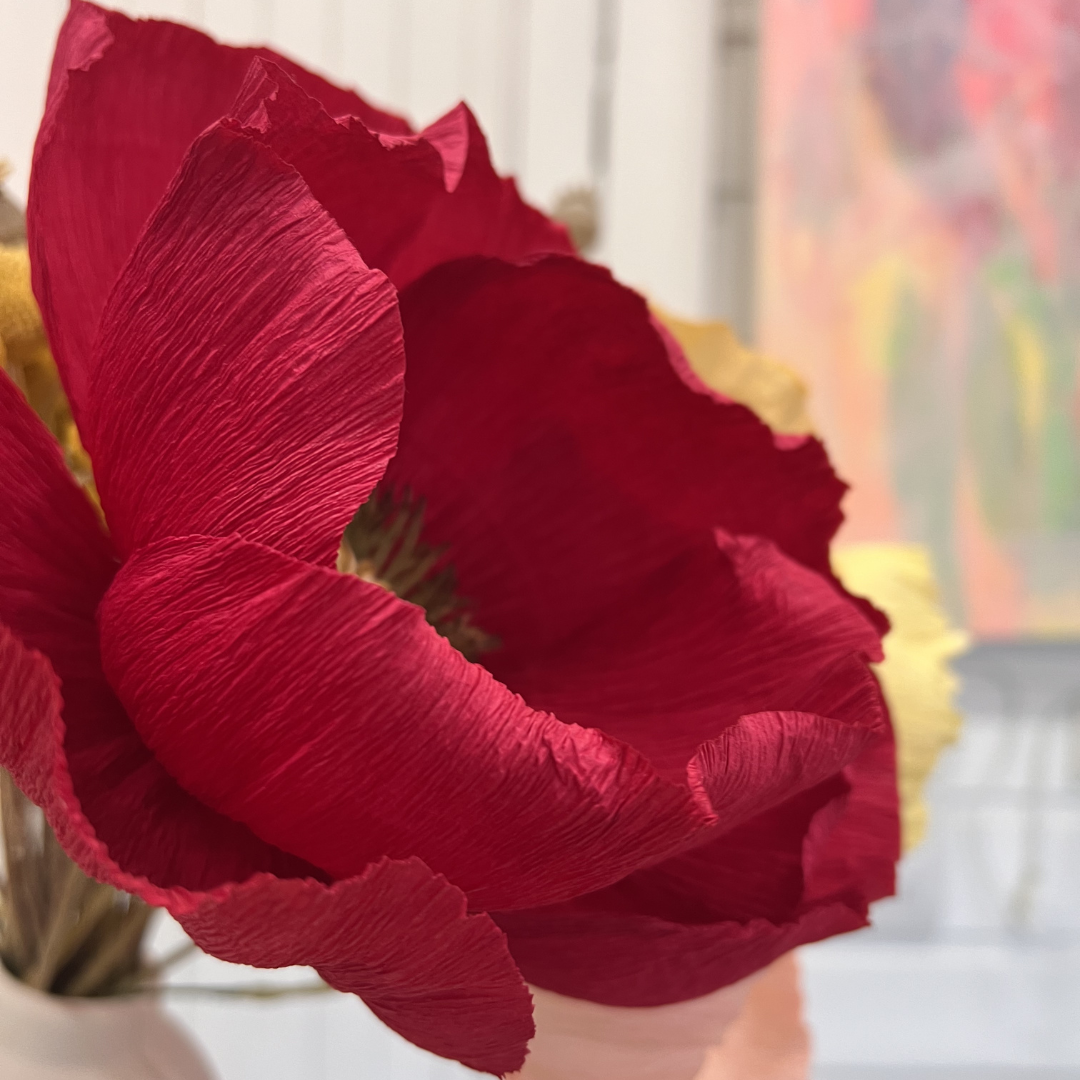 Image 2 of 7
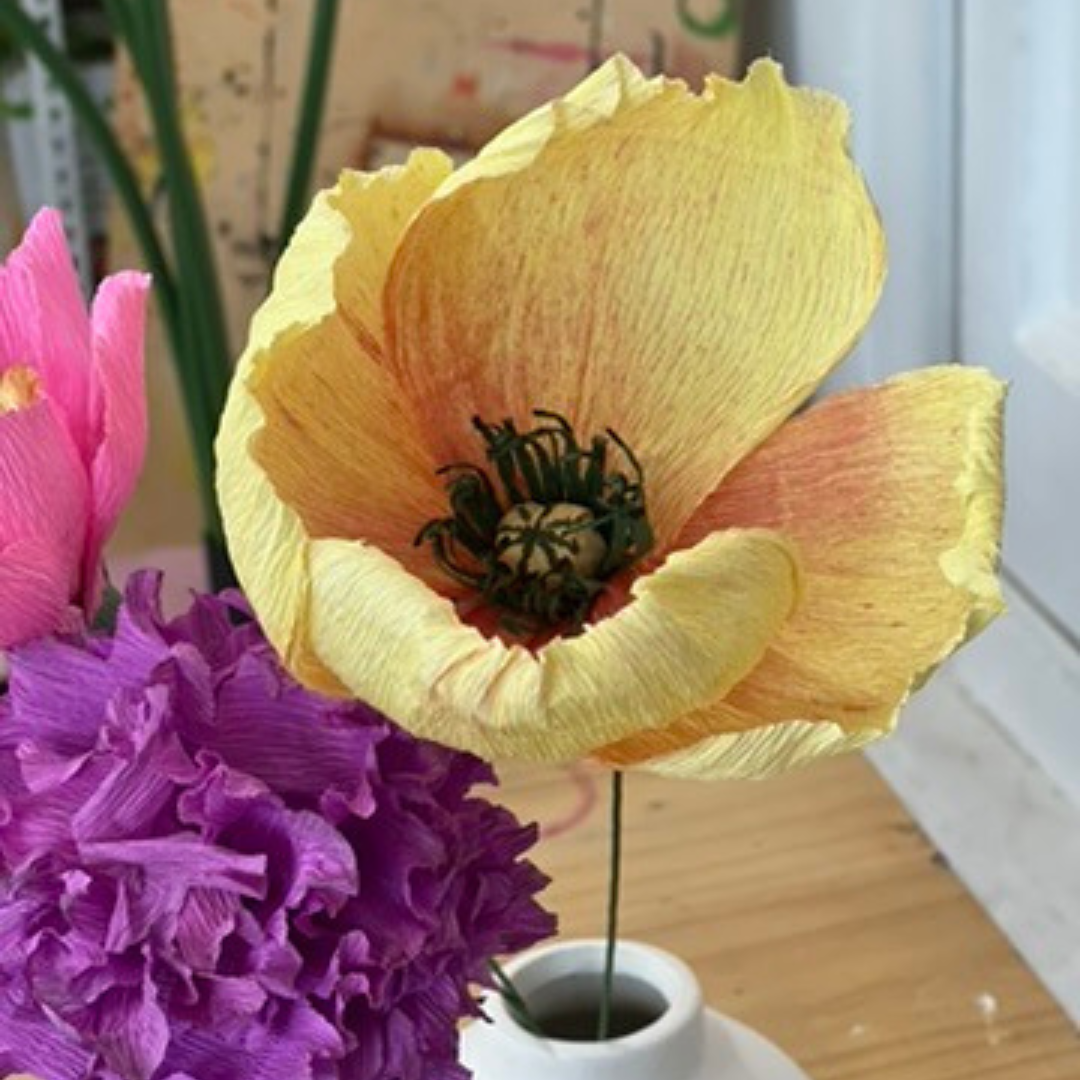 Image 3 of 7
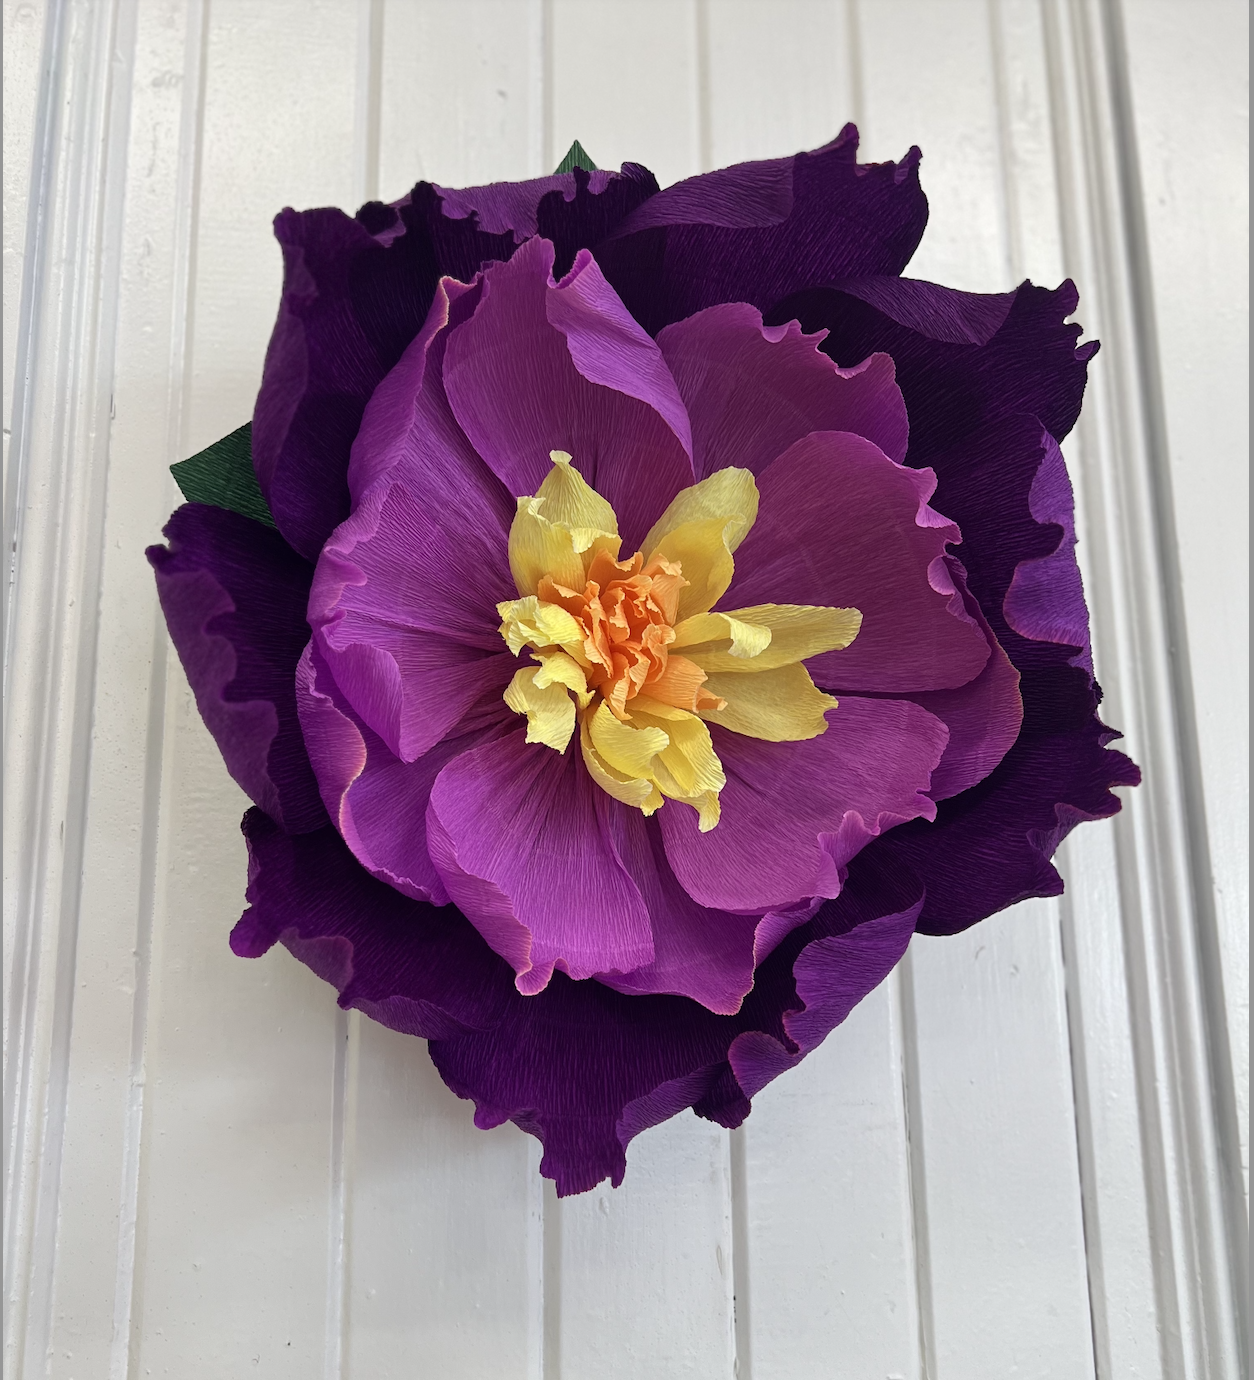
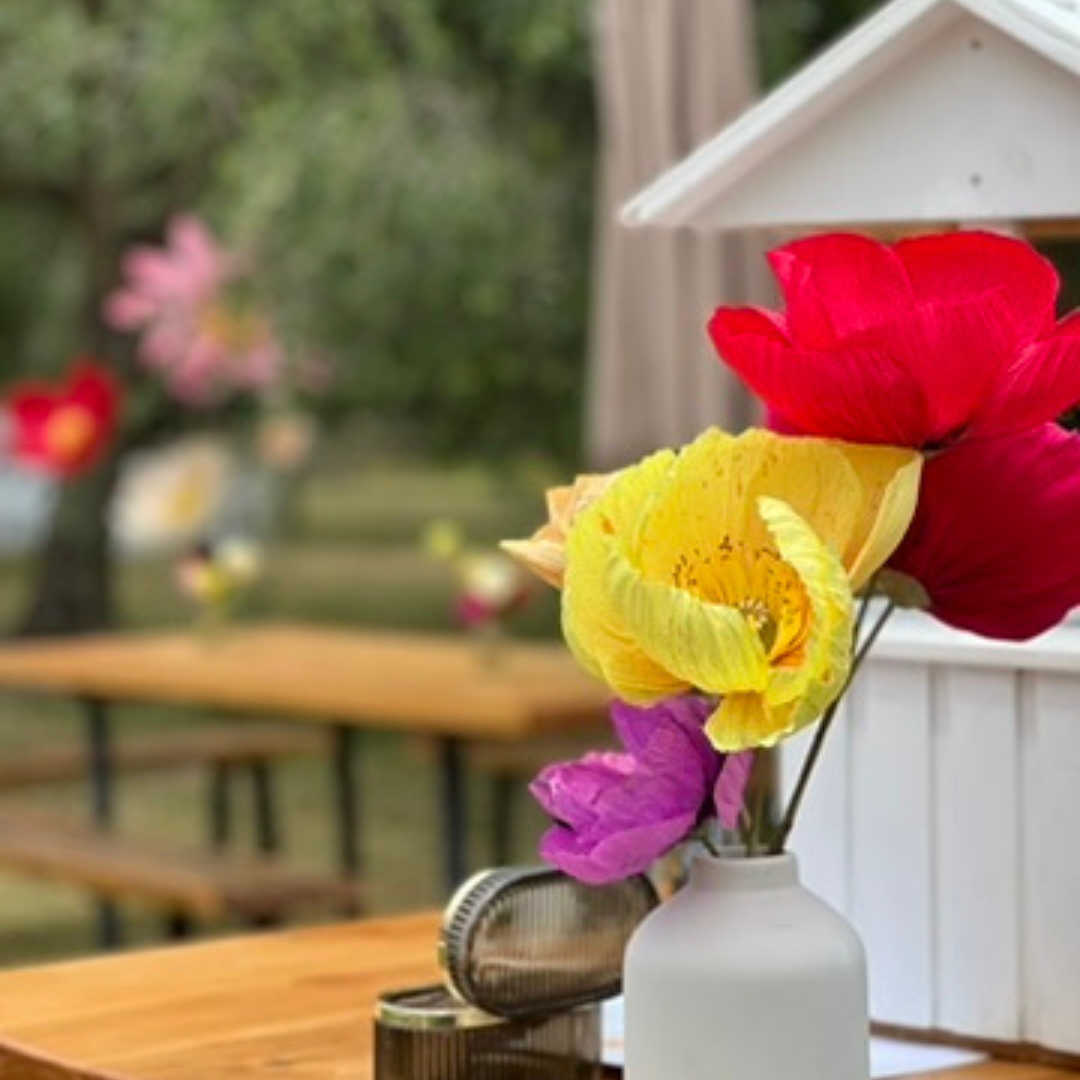 Image 4 of 7
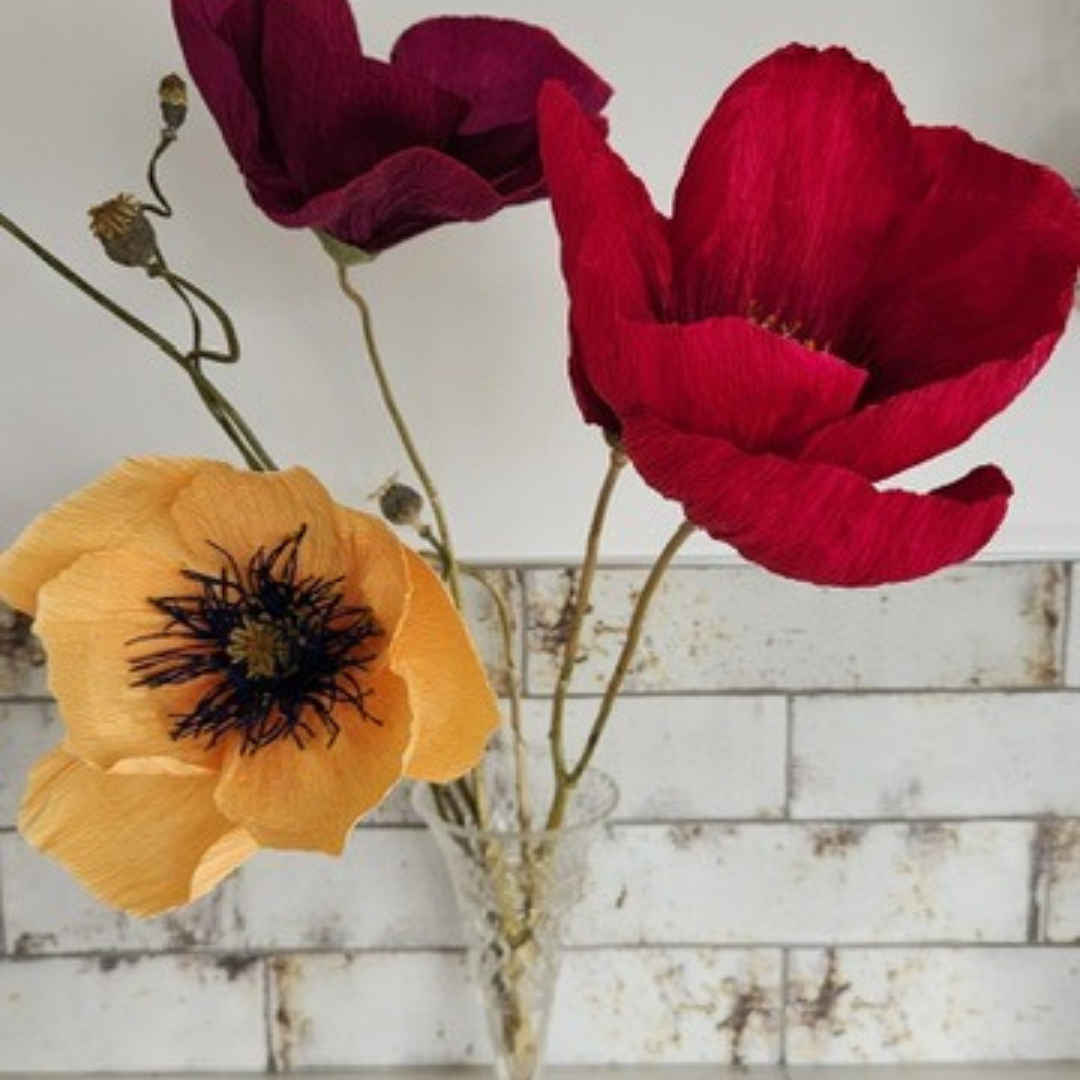 Image 5 of 7
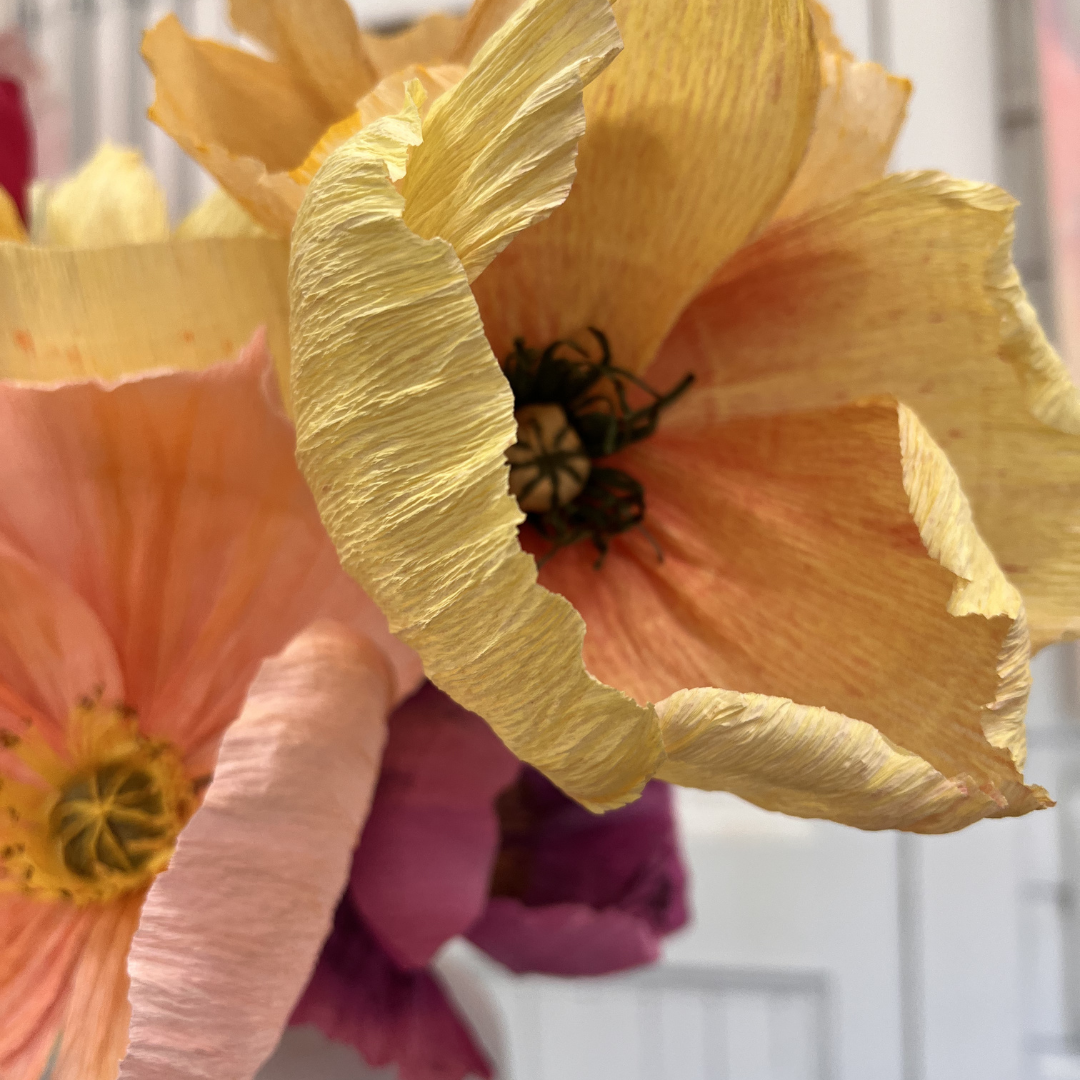 Image 6 of 7
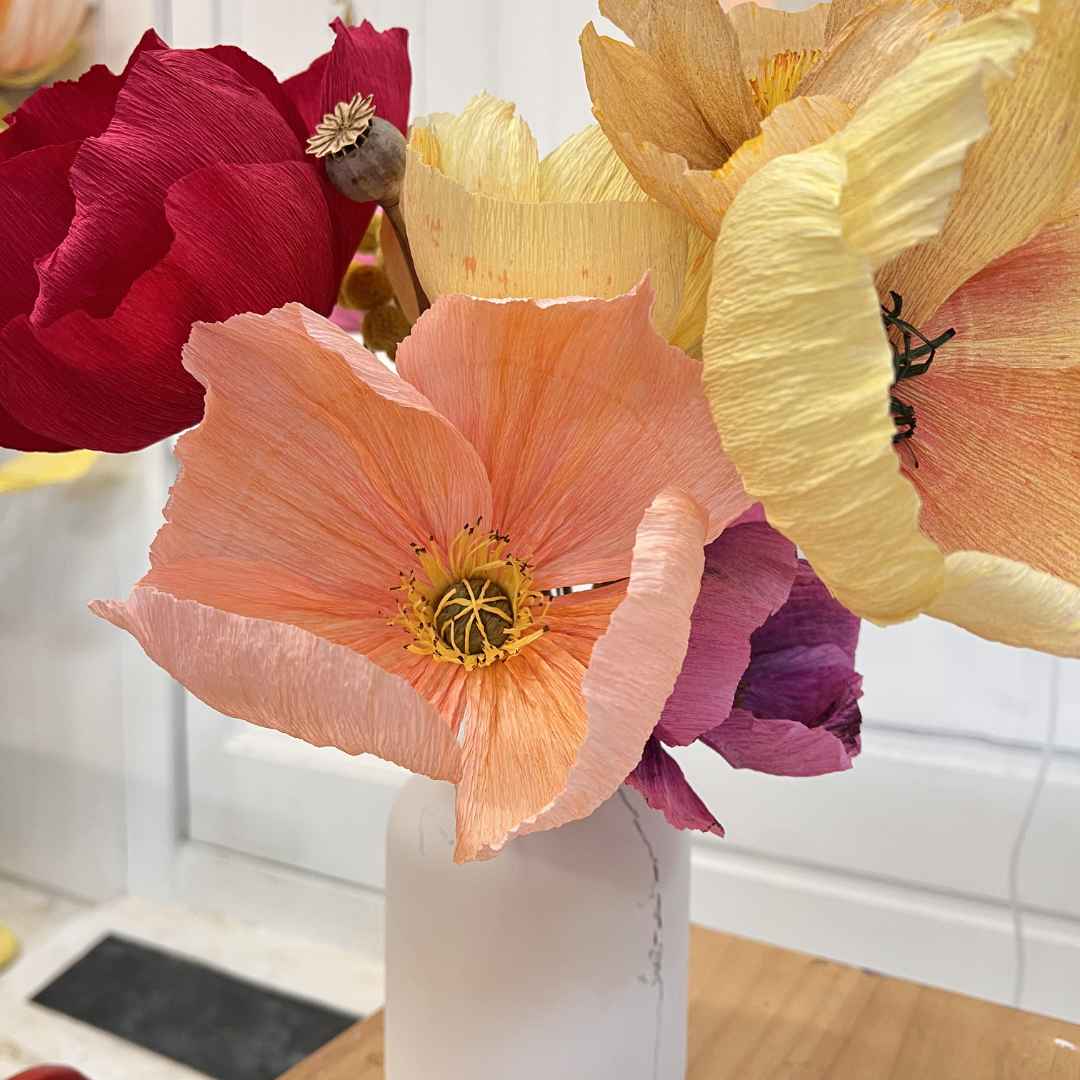 Image 7 of 7
You’ll Need:
• Crepe paper (180g recommended – see note below)
• Scissors
• Glue gun and glue sticks
• Stapler
• Marker
• Chalk pastels (or alternative colouring materials)
• Tin foil
• Florist wire, wooden skewer, or straight stick for stem
• Floral tape (optional)
A clear workspace and a little patience go a long way.
Crepe Paper Notes
I use 180g Italian crepe paper for this tutorial because it stretches beautifully and holds its shape well.
For this particular flower, lighter crepe paper can also work. However, because it doesn’t stretch as much as 180g, you’ll need to cut slightly wider petal sections to achieve the same fullness and movement.
When sourcing online, search for:
180g Italian crepe paper
My supplier ships direct to NZ and AUS - every tutorial purchase receives a code for 10% off at Flowers with a Secret
It’s widely available and often easiest to purchase locally within your own country.
Measurements & Quantities
For one Icelandic poppy, you will need:
Petals:
• 4 pieces of crepe paper
• Each piece measures 10cm x 12cm
(You can cut more if you’d like additional petals.)
Centre Ball:
• 1 piece measuring 6cm x 6cm
Stamens (Fringe):
• 1 piece measuring 5cm x 10cm
Backing (Optional Finish):
• 1 piece roughly the same size as the centre square (approx. 6cm x 6cm)
Stem Covering (Optional):
• A strip cut from a piece approximately petal-sized is more than enough to wrap the stem.
Please check your junk/spam folder after purchase. Move the email to your inbox to access your video link 👌🏽
This is a recorded workshop, not a live class. While I can’t offer individual feedback, I hope it gives you a calm, encouraging place to create and explore.